
June 6, 2024

Editorial Disclaimer
This content is published for general information and editorial purposes only. It does not constitute financial, investment, or legal advice, nor should it be relied upon as such. Any mention of companies, platforms, or services does not imply endorsement or recommendation. We are not affiliated with, nor do we accept responsibility for, any third-party entities referenced. Financial markets and company circumstances can change rapidly. Readers should perform their own independent research and seek professional advice before making any financial or investment decisions.
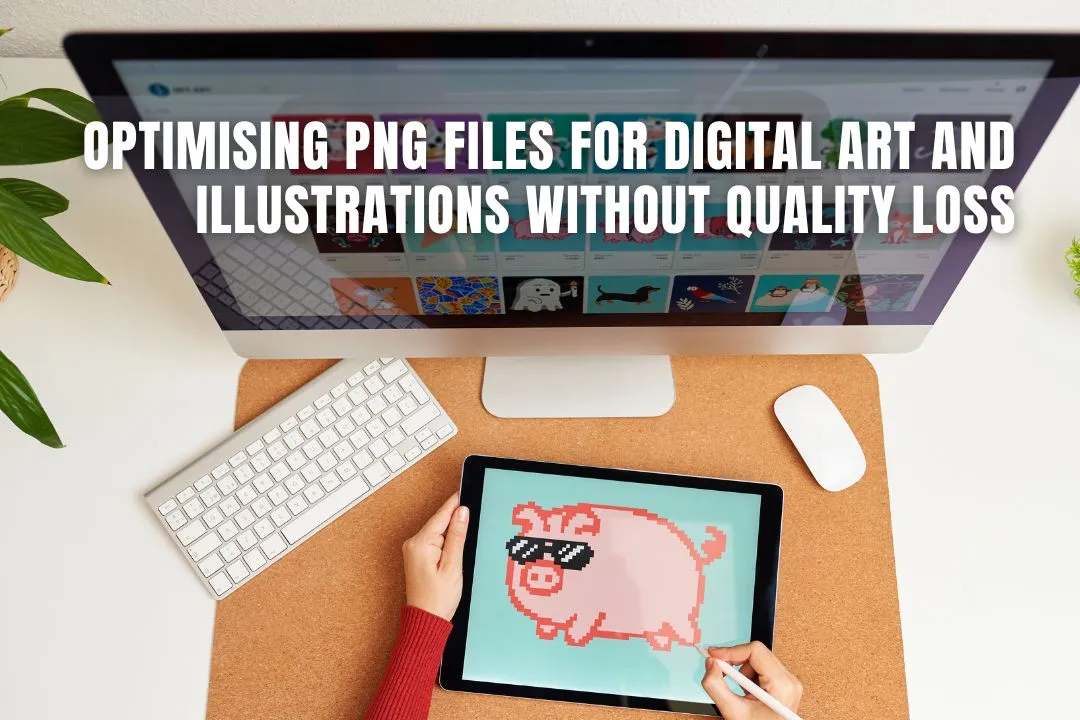
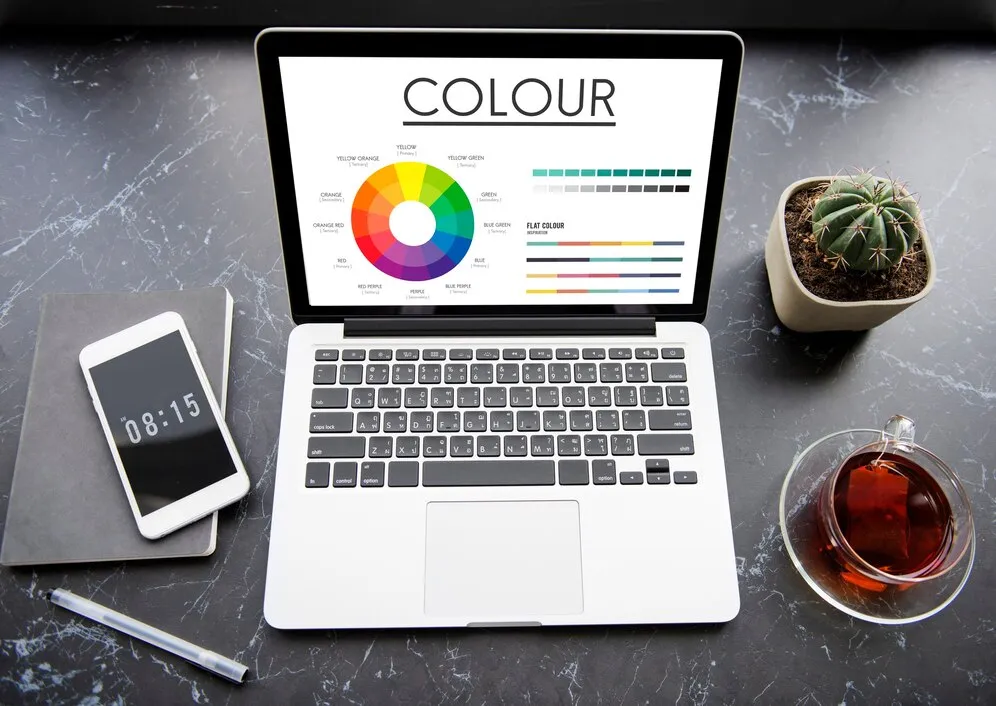
When it comes to digital art and illustrations, the format of the images is incredibly important for both aesthetics and functionality. Among the various image formats available, PNG files stand out for their flexibility, particularly because of their support for transparency. Whether you're a graphic designer, illustrator, or digital artist, PNG files are often the go-to choice for delivering high-quality artwork. However, one of the major challenges when working with PNG files is finding a way to optimise them without sacrificing image quality.
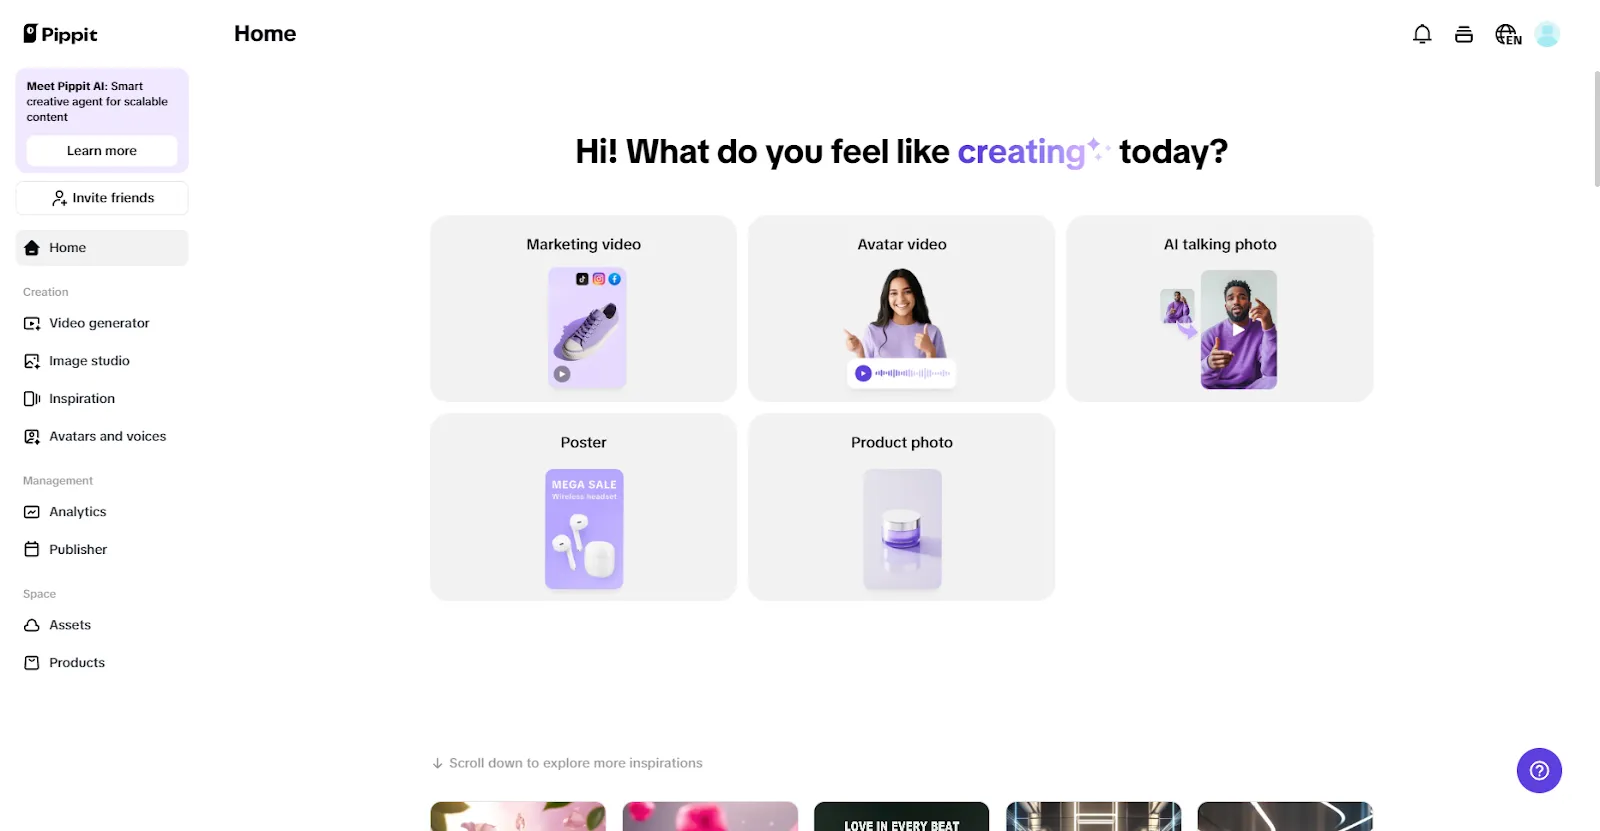
This is where tools like Pippit AI come into play. This advanced platform offers an excellent solution for resizing and optimising PNG files while maintaining the integrity of the image. But how exactly do you ensure that your PNG files remain sharp, clear, and high-quality without running into issues like pixelation or blurry edges? Let’s explore how to optimise PNG files for digital art and illustrations, ensuring that both quality and performance are balanced effectively.

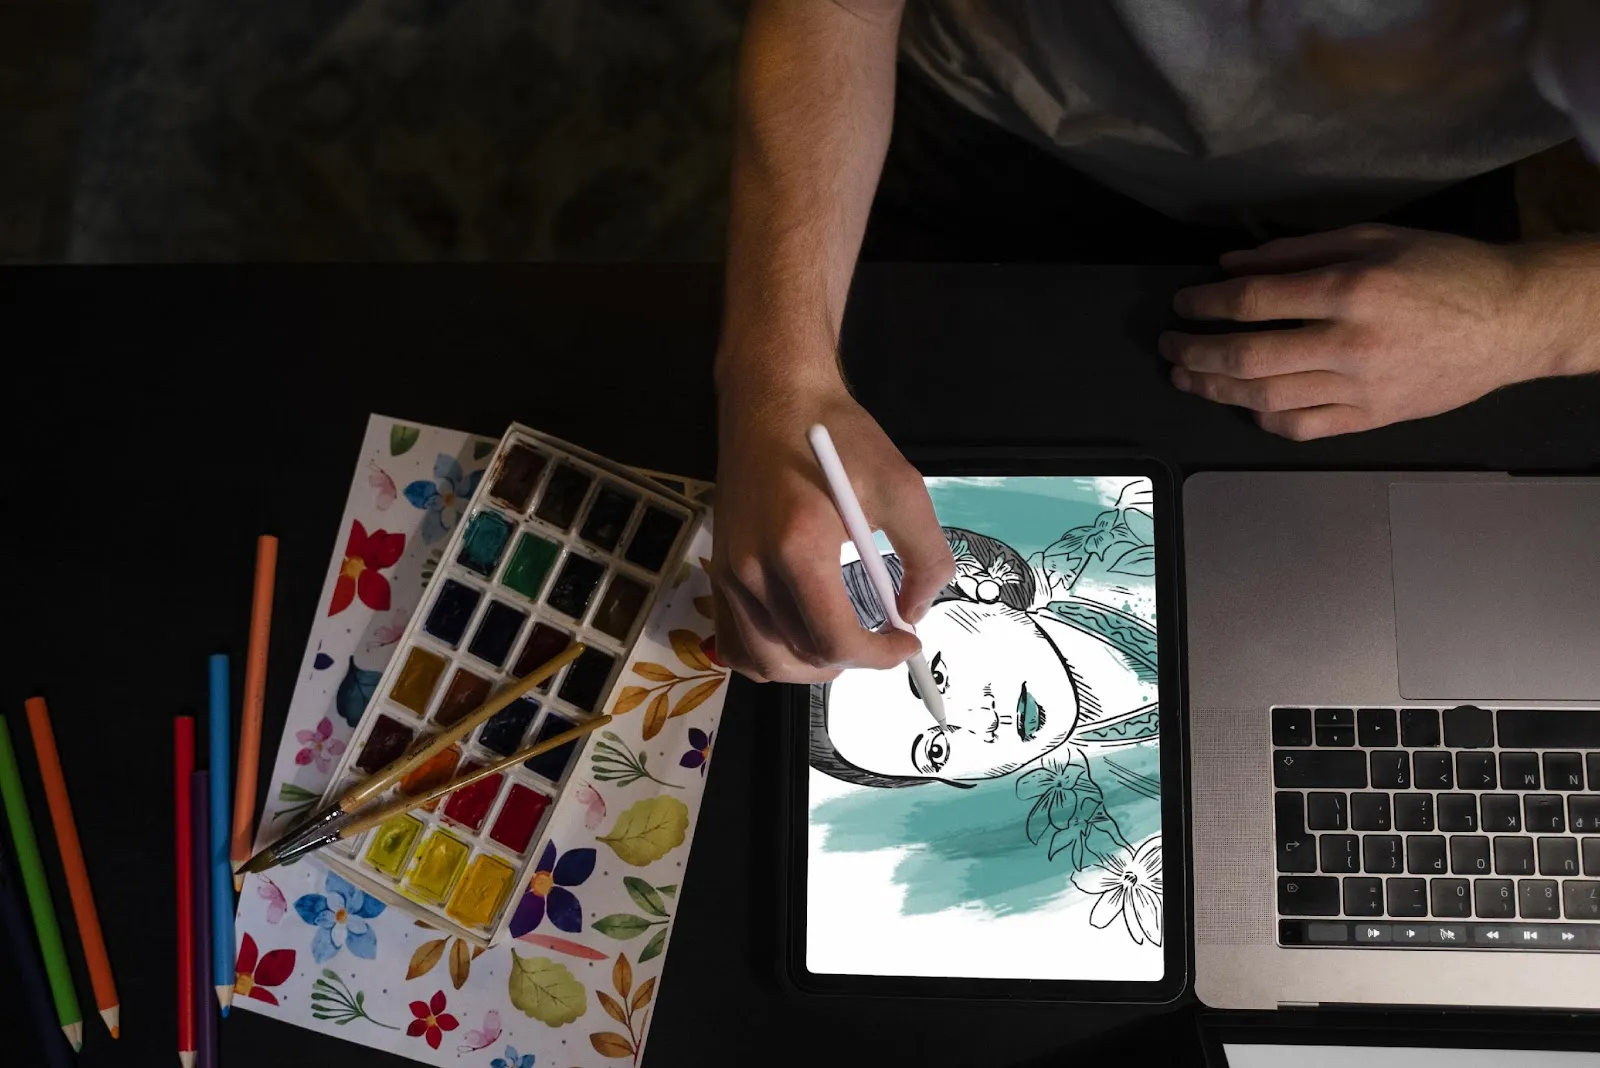
High-quality PNG images are a must for digital art and illustrations because the file format retains sharpness and fine details that are crucial for maintaining the visual impact of your artwork. In the world of digital art, intricate details and sharp lines define the visual appeal of a piece. Whether you're working with complex vector illustrations or detailed digital paintings, maintaining this clarity is essential to convey your artistic vision.
Another critical aspect of PNG files in digital art is their ability to support transparency. For many illustrations and designs, transparency allows the artwork to seamlessly integrate with various backgrounds, giving you more flexibility in where and how you display your work. This feature is especially important for logos, icons, and other design elements that need to stand out on different-coloured or dynamic backgrounds.
Optimising PNG files for web use or digital portfolios often involves reducing their file size to improve performance, but doing so without compromising quality can be tricky. When you reduce the file size of a PNG, there’s a risk of losing clarity in the image, resulting in pixelation, blurry edges, or artifacts. These quality issues are especially problematic for digital artists who rely on precise detail and colour accuracy.
Moreover, large image files can slow down your website, portfolio, or online store. Since digital artists frequently showcase their portfolios online, large PNG files can lead to slow page load times, which can negatively affect user experience. A slow website leads to increased bounce rates, meaning potential clients or fans might leave before viewing your art. In this situation, optimising PNG files becomes not only important for maintaining quality but also for improving website performance.
Now that we understand why optimising PNG files without losing quality is important, let's explore how to achieve this balance effectively.
There are two primary methods for optimising PNG files: resizing and compression. Both techniques aim to reduce the file size without affecting the visual integrity of the image.
Resizing your PNG files can significantly reduce their file size. However, it’s essential to choose the right resolution for your needs. If you’re uploading the image to a website or portfolio, a resolution that’s too large can result in a file that’s unnecessarily heavy, while a resolution that’s too small can reduce clarity and detail.
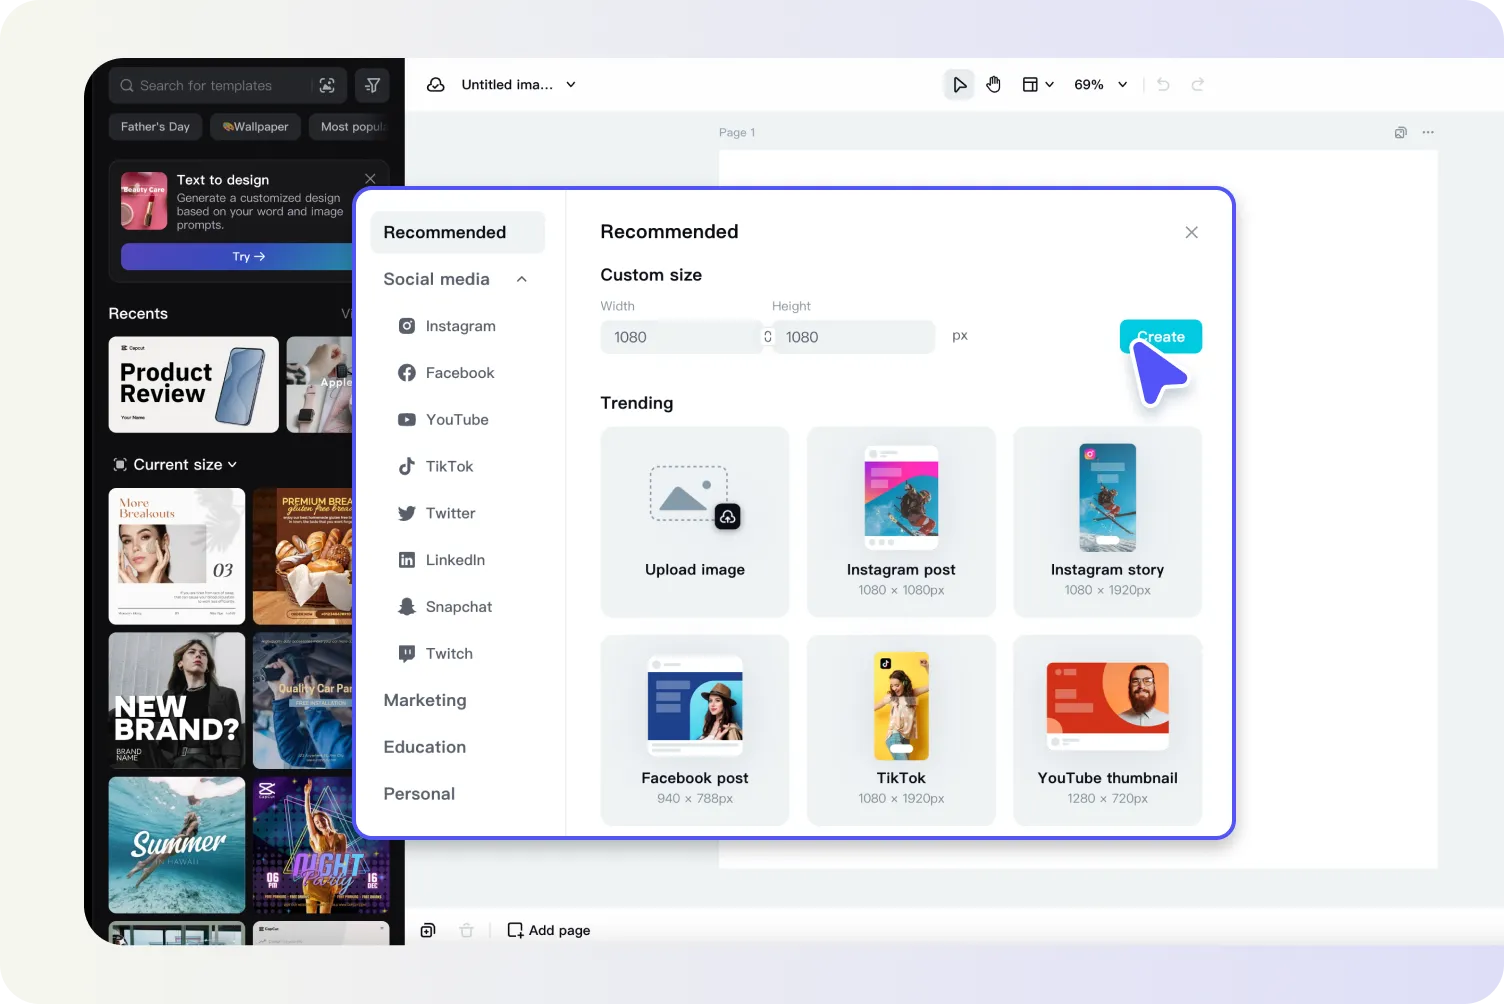
Using a PNG resizer tool, such as Pippit AI’s PNG resizer, can help you adjust the image size while preserving its quality. The tool allows you to resize the image with precision, ensuring that the artwork’s details remain intact.
Compression is another technique used for optimisation. Lossless compression reduces the image size without compromising the quality, which is perfect for maintaining sharpness and clarity. It works by eliminating unnecessary data without affecting the actual image pixels. This method is especially useful when you need to make sure that the final output maintains the original look of your artwork while still being web-friendly.
Lossless compression is a vital part of the optimisation process, particularly when it comes to digital art and illustrations. Unlike lossy compression, which discards some image data to reduce size, lossless compression retains all the image details. This means you can reduce file sizes without worrying about degrading the quality of your artwork.
Lossless compression makes the image file smaller by removing redundancies and optimising the data. For digital artists, this is essential because it helps preserve the fine details and vibrant colours that are characteristic of high-quality artwork. By using compression, your digital portfolio can load faster without sacrificing the integrity of your illustrations or digital paintings.
Another significant advantage of compression is faster loading times. As digital art portfolios increasingly become more visual-heavy, having optimised images that load quickly is crucial for keeping potential clients engaged. After all, the faster the images load, the better the user experience, and a faster website leads to higher engagement and retention.
Here’s the revised section with added pointers:
For digital artists and illustrators, preserving transparency and colour accuracy when optimising PNG files is essential. Transparency allows your artwork to integrate smoothly with various backgrounds, and colour accuracy ensures that the artwork looks vibrant and true to its original form. Below are some tips to help maintain these crucial elements while optimising PNG files:
By following these tips, you can maintain the integrity of both transparency and colour accuracy when optimising your PNG files, ensuring your digital artwork retains its professional quality.
While PNG is often the preferred format for digital art due to its transparency support and high-quality output, there are cases where other formats like JPEG, JPEG, and WebP may be more suitable. Below are pointers to help you decide when to use each of these formats:
In summary, selecting the correct format depends on the nature of the digital art and the platform where the image will be displayed. JPEG, JPEG, and WebP each have their strengths, and understanding these can help you make the best choice based on your specific needs.
Optimising PNG files for digital art and illustrations doesn’t have to mean sacrificing quality. By using a tool like Pippit AI, you can resize and compress your PNG files while maintaining the integrity of your artwork. With the proper techniques, you can find the perfect balance between file size and image quality, ensuring that your portfolio, website, or digital artwork looks professional and performs well online.
Whether you’re a graphic designer, illustrator, or digital artist, optimising your PNG files is a crucial step in enhancing the visibility and accessibility of your work. The combination of resizing, lossless compression, and maintaining transparency and colour accuracy will allow you to create a faster, more engaging online experience for your audience.
PNG is favoured by digital artists because it supports transparency, allowing artwork to be placed on any background seamlessly. It also uses lossless compression, which means the image quality, including fine lines and details, is perfectly preserved.
Lossless compression reduces a file's size by removing redundant data without discarding any of the original image information. This keeps the quality intact. Lossy compression, used by formats like JPEG, makes files smaller by permanently removing some data, which can slightly reduce image quality.
To avoid blurriness, you should use lossless compression and careful resizing. Use a high-quality tool that allows you to specify dimensions precisely and employs lossless techniques. This ensures the file becomes smaller while the visual integrity of your art is maintained.
You should consider using WebP for images on your website. WebP supports transparency just like PNG but often creates much smaller files. This results in faster page loading times, which is better for both user experience and SEO.
Absolutely. Search engines favour websites that load quickly. By optimising your PNG files, you reduce their size, which speeds up your site. This improved performance is a positive ranking factor and can help your portfolio or business, a principle we often discuss at Robin Waite Limited, get better visibility.
